Welcome to our latest tutorial where we guide you through the delightful and rewarding process of knitting your very own cozy socks! Whether you're a seasoned knitter or just picking up the needles for the first time, this step-by-step, illustrated guide is designed to make knitting socks an enjoyable and satisfying experience.
In this tutorial, we'll explore the basics of sock knitting, from choosing the right yarn and needles to mastering essential techniques like casting on, knitting in the round, heel turning, and toe shaping. Our comprehensive guide is perfect for those looking to expand their knitting skills and create something truly special and personal.
Why Knit Socks?
Knitted socks are not just a staple of comfort; they are a testament to the joy of crafting something unique with your own hands. They make for thoughtful gifts, and the skills you learn here can be applied to more advanced knitting projects in the future.
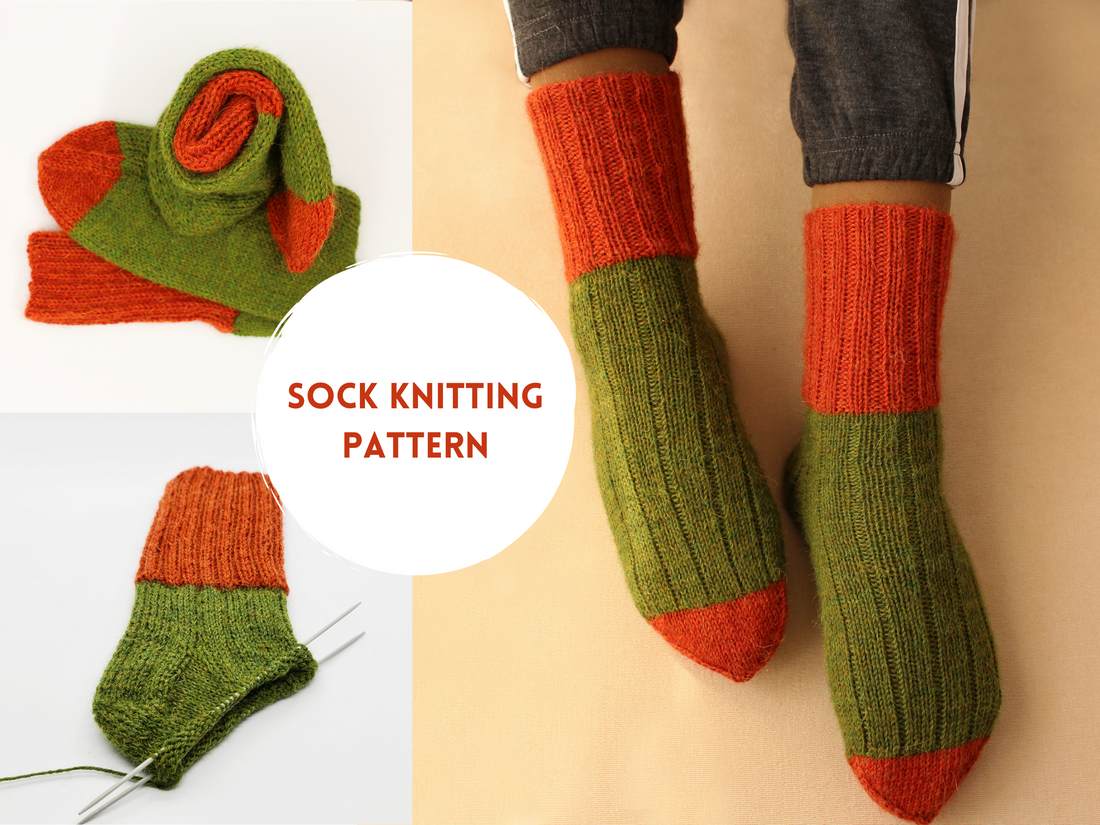
Sock Knitting Pattern
This detailed tutorial will help you to knit easily nice warm socks for you and your family.
With the step-by-step illustrated description you will enjoy the knitting process and get a wonderful result.
Needles
Two 2.0mm needles + one auxiliary needle.
Size
The pattern is designed for size 37-38 but you can adjust it to any size of foot that you want to knit for with the help of the detailed description given below.
Abbreviations
- K = Knit;
- P = Purl;
- RSR = Knit entire row;
- WSR = Purl entire row;
- K2tog = Knit two stitches together.
Ribbing
Cast on 60 stitches. Distribute the stitches equally on two needles (30 stitches each).
Continue with a 2x2 rib (K2, P2) for 12cm.
Then, with the yarn of a different colour knit 4 rounds in stockinette stitch, after continue with a 1x4 rib (P1, K4) for 12 rounds.

Heel
Knit your heel flap consisting of 30 stitches on just one of the needles with back-forth rows (RSR, WSR, RSR, WSR, etc.). Continue knitting for 20 rows.
After keep along with a 1x4 rib (P1, K4) to reach the desired length of heel flap (20 back-forth rows in total).
Having knitted the heel flap, proceed to heel turn. Dividing 30 stitches by 5, you will get 6 central stitches and 12 stitches on each side. Mark the central stitches placing markers on both sides.
Start decreasing stitches by knitting K12 stitches, K5 central stitches, with the sixth stitch knitted together with the next coming stitch, and knit K1 more stitch.
Turn your knitting. Slip the first stitch, and then continue purling. Before reaching the marker, purl P1 stitch together with the next one, purl P1 more stitch and turn your knitting. Keep decreasing stitches until there are 16 stitches remaining on the needle.
Pick up 11 stitches from each side edge, introducing the needle into both loops of the stitch at once. Continue knitting the instep stitches in 1x4 rib (P1, K4), and the sole stitches in stockinette stitch.

Gusset
To shape the gusset keep on knitting the instep stitches in rib, while decreasing the sole stitches – slip 1 stitch, knit the next K1 stitch, and after pass the slip stitch over it.
Continue with knit stitches, with the last two stitches on the needle to knit K together.
Decrease gusset stitches on every other round until there are 30 stitches remaining on the needles.

Foot
Continue knitting the instep stitches in rib, and the sole stitches in stockinette stitch for 48 rounds. Here the number of rows can be increased for a larger sock or reduced for a smaller sock (to adjust the size of the sock to the size of foot needed).

Toe
Toe (change yarn) – decrease stitches at the beginning and the end of each row on both needles. Knit K the first stitch, then knit K 2 front cross stitches together. Continue with knit stitches until there are 3 stitches left, then knit K 2 back cross stitches together. Decrease stitches the same way on the second needle. Decrease stitches on every other row for 8 rows, starting from the 9th row decrease stitches on every row to make a round sock toe.
When there are 4 stitches left on each needle, cut yarn, leaving a tail, and pull it through the remaining 8 stitches with the help of a crochet. With the toe closed, the sock is ready. Weave in ends.

Wrapping Up: Your Journey with Hand-Knit Socks
Congratulations on completing your journey through the art of knitting cozy socks! We hope this tutorial has not only equipped you with a new skill but also ignited a passion for knitting. Remember, every stitch you've made is a step towards mastering this beautiful craft. Whether these socks are for you or a gift for someone special, they are a testament to your dedication and creativity.


As you continue your knitting adventures, remember that each project is an opportunity to explore new patterns, techniques, and yarns. Don't hesitate to revisit this guide or explore our website for more patterns and tips. We're always here to help you on your knitting journey.
Share Your Creations
We would love to see your finished socks! Share your creations with us on social media using the hashtag #KnitBoutiqueSocksCreation and join our community of knitting enthusiasts. We're excited to be a part of your knitting journey and can't wait to see what you'll create next!
Happy Knitting!